Archivos en la categoría 'Arduino'

SYPHCOM: CO2 meter

Lunes, Agosto 16th, 2021

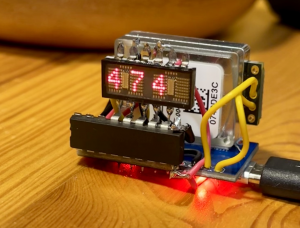
This is my last week project: a Simple Yet Powerful Handheld CO2 Meter. SYPHCOM (name in progress ..)

The use for a portable CO2 meter is to be able to measure air quality in closed spaces (i.e. the office). The higher the number (usually above 1200~1500) the worst ventilation, which means higher chances to get
the Covid-19.

CO2 Meter Front View

CO2 Meter Front View

With this is possible to know when is time to open the windows and ventilate.

It’s main guts are:

Back view of handmade CO2 meter

Back view of handmade CO2 meter

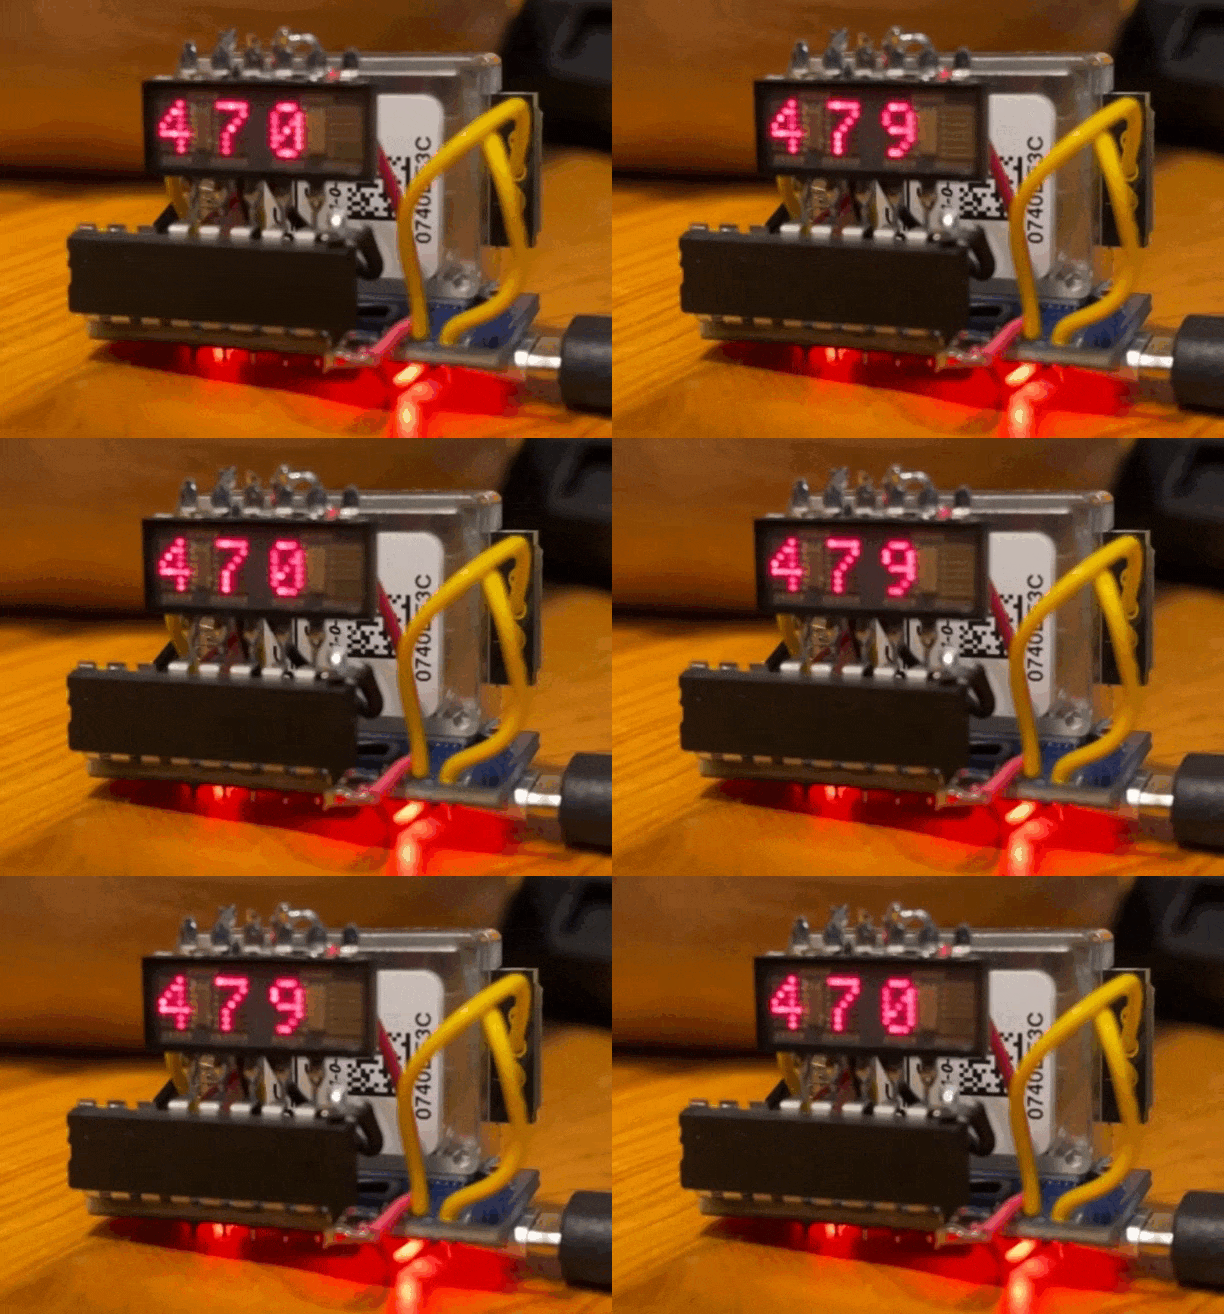
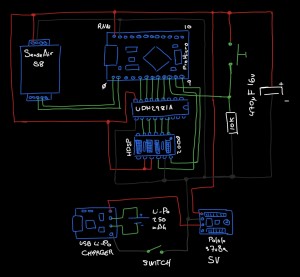
The capacitor stands for when the CO2 sensor does a read cycle (every 2s): both the display and the SenseAir S8 uses so much power that you can see the display and leds in the Arduino Pro Micro sighly dim off when powered from standard USB 0.5A when a read is made in the SenseAir CO2 Sensor. Without the capacitor, the arduino can’t stand for the display refresh and does a glitch in the display.

BCO2 Meter Glitch

CO2 Meter glitch

Also there’s a UDN2981A source driver to drive the columns in the HDSP-2000 display and a small momentary press button with 10K pull down resistor to launch sensor callibration if pressed on powerup (use with caution!!).

CO2 Meter first working stage

CO2 Meter first working stage

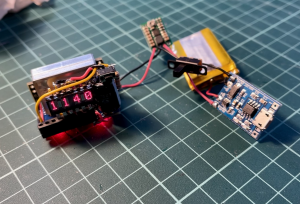
The components that makes it portable are:

  • Lithium battery charger (Like this one).
  • Recycled Li-Po cell (250mAh)
  • Pololu s7v8a adjustable step-up DC-DC (adjusted to 5V).
  • Switch.
Making CO2 Meter porable with lipo charger and battery

Making CO2 Meter porable with lipo charger and battery

I use the same components to make projects portables. The good thing about the pololu s7v8a is that it is both a step-up and a step-down DC-DC converter. This is handful if a project work 3.3v as it will give 3.3v always even if the battery is reading 3.0v. Unfortunally the recicled 250mAh battery is not much for the power needs so only lasts 30m on thi battery cell.

CO2 Arduino HDSP-2000 SenseAir Schematic

CO2 Arduino HDSP-2000 SenseAir Schematic

Code available here.

In the video the leds seems to be dimmer than they really are because of the high light, but actually they are pretty much visible.

Overall all makes a nice looking portable and easy to use CO2 meter and Covid prevention tool in closed spaces.
Arduino Enigma Portable

Jueves, Enero 11th, 2018

I recently got an Arduino Enigma on Tinder (https://www.tindie.com/products/ArduinoEnigma/arduino-enigma-i-m3-m4-machine-simulator-w-case/) which is a Arduino Enigma Machine Simulator with touch display. Is pretty handsome with a wooden case and perfectly functioning simulator of the Enigmas 1, M3 and M4.

But to work, it needs external power supply. Either a USB-B cable or a 9v battery with a barrel plug. And I hate having external addons to make it work.

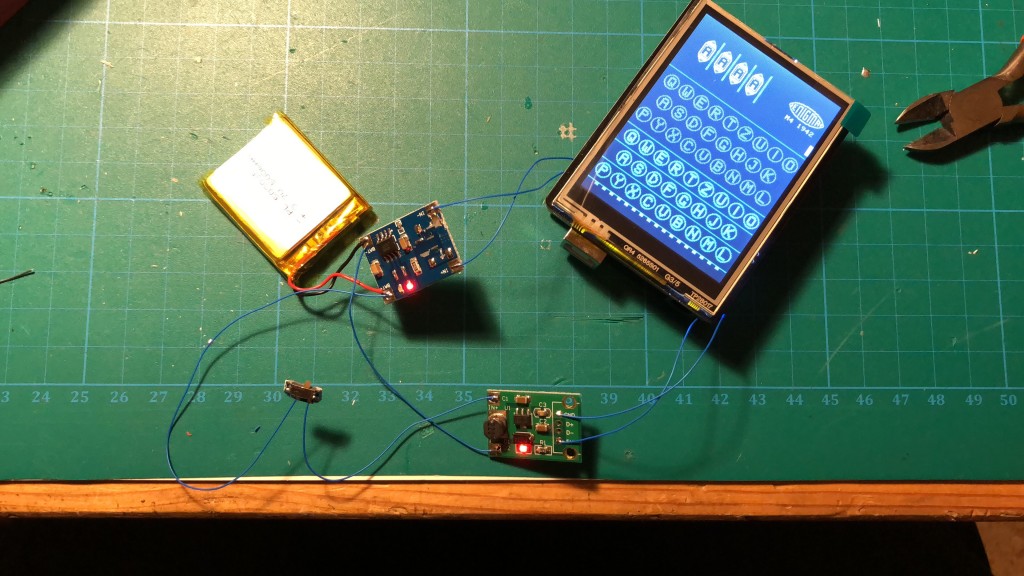
Arduino Enigma Machine with battery

Arduino Enigma Machine with battery

So I put inside the case a lipo battery, a lipo charger and a 5v stepup to power up everything.

VMware Fusion (OSX): Mooltipass in Virtual Machines

Martes, Agosto 19th, 2014

So, I wanted to test the Mooltipass in different platforms besides my main OS, Mac OS X. The better way is to use virtual machines I already have VMware Fusion. On first try I wasn’t able to associate the Mooltipass to any of my virtual machines because the MP is an HiD device and as so, is always connected to the main OS and then emulated via VMware Fusion in the guest OS (in my case, Windows XP and Windows 8):

vmware_fusion_screenshot_without_usb_mooltipass

Mooltipass is not eligible to be associated to the guest OS

After some googling I found a relevant KB (knowledge base) article about associating HiD devices entirely to a Virtual Machine and disassociating it from the host OS: http://kb.vmware.com/selfservice/microsites/search.do?language=en_US&cmd=displayKC&externalId=1033435.

The article says that the virtual machine hardware definition file (.vmx extension, usually located at /Users/$USER/Documents/Virtual Machines.localized) has to be manually edited after shutting down the virtual machine and the VMware Fusion to add the two following lines:

usb.generic.allowHID = "TRUE"
usb.generic.allowLastHID = "TRUE"

After adding both lines, you can safely search for the Mooltipass HiD devide to properly associate it to the guest OS:

vmware_fusion_screenshot_with_usb_mooltipass

vmware_fusion_screenshot_with_usb_mooltipass

Update: Since VMware Fusion 7.1.1 it’s necessary to also add usb.generic.allowHID = “TRUE” in the following file: /Users/$USER/Library/Preferences/VMware\ Fusion/preferences

Arduino Sensor Board plus PongClock

Sábado, Junio 15th, 2013

This tiny sensor board was solely designed by Mike Rankin, a friend that help me to bring life to a real custom GPS board. This time he was looking for a multi purpose board to develop anything.

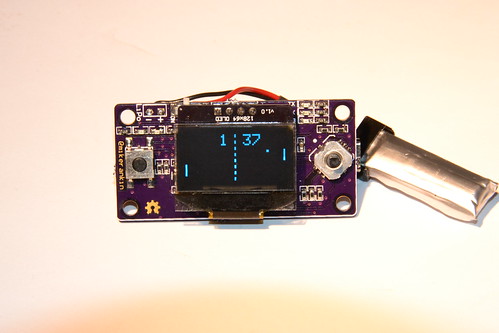
Sensor Board Main display Side Showing Ponglock

Sensor Board Main display Side Showing Ponglock

Feature list:

  • I2C Bus to save pins for future use.
  • 128×64 OLED I2C Display: let’s draw anything
  • Momentary switch on left and cross plus center buttons on right (total 6 input buttons)
  • Arduino Leonardo based: USB for anything.
  • Temperature sensor (I2C)
  • Barometer sensor (I2C)
  • Accelerometer sensor (I2C)
  • Real Time Clock (I2C) plus backup battery.
  • Switched power supply.
  • LiPo charger.
  • Tiny design: let’s make portable projects.
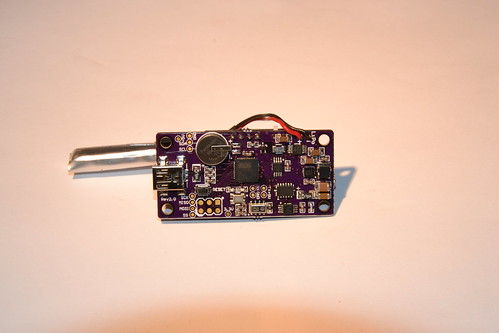
Sensor Board Main Component Side

Sensor Board Main Component Side

I couldn’t resist temptation.. I ported the pongclock code from Rob Parrett to this tiny board. Here is the result:

Hardware is open hardware, you can obtain anything on Mike’s web or you can buy it directly from Tindie. Custom pongclock code can be downloaded from here.

Update: I fixed 3 bugs in the original code to fix pong game behavior to be as accurate as possible, like the scoreboard, ball missing and properly change of hours.

GPS Toy Hardware version 2

Jueves, Junio 6th, 2013
Update: If you want one for real it is now for sale at Mike’s Tindie page here.
Update 2: I made a 3D printed enclosure for this hardaware. You can find more here.

About 9 months ago one Hackaday reader dropped some comments about compiling the source I published here a year ago and some troubles. After that, Mike and me kept talking and things turn out that he was PCB developer, so we though we could make together GPS cube version for real.

Together we developed a schematic and Mike built all himself several prototypes until we finally came with a (almost!) final version. So, here we are, one year after first release:

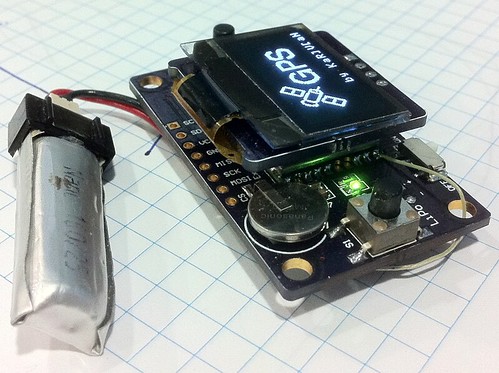
GPS Cube version 2

GPS Cube version 2

This version has several features:

  • Everything is packed together in a single board.
  • Better GPS: we switched to MT3339 PA6H instead old SirfStar III EM-411
  • We added TMP75 I2C temperature sensor.
  • The display PCB is also custom to run 3.3v
  • Everything runs 3.3v: GPS, display, FTDI, TMP75 and atmega328p is now running 8MHz, Battery lasts longer.
  • Expansion header with SPI and I2C: the board ca be used as development board for any other projects with displays or GPS.
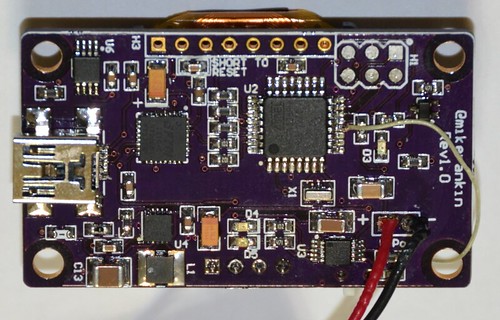
GPS Toy Hardware Rev1.0

GPS Toy Hardware Rev1.0

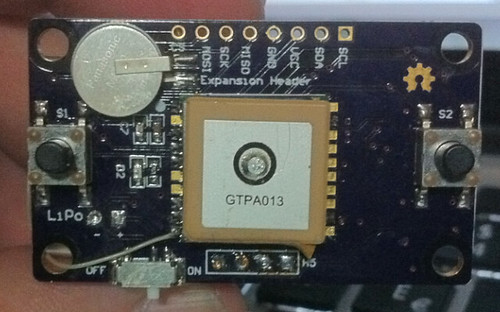
New GPS Board back

New GPS Board back

All the hardware was designed and developed by Mike Rankin (probably will go to Tindie) meanwhile I developed the software.