Archivos en la categoría 'Electrónica'

WiFi Scanner Keychain

Miércoles, Septiembre 9th, 2020

I recently came across with moononournation’s libraries and code on Arduino IDE for ESP8266 and ESP32, which includes a demo of WiFi 2.4G air scanner.

As iOS user I can not have a WiFi Explorer so having this keychain hanging in my backpack was a nice idea. However moononournation did a tutorial and printer STL files for a TTGO VT7 v1.0 that is no longer available, so I designed my own enclosure for a TTGO T7 v1.4.

Link to the file here.

DFP-34X-2C2

Miércoles, Julio 29th, 2020

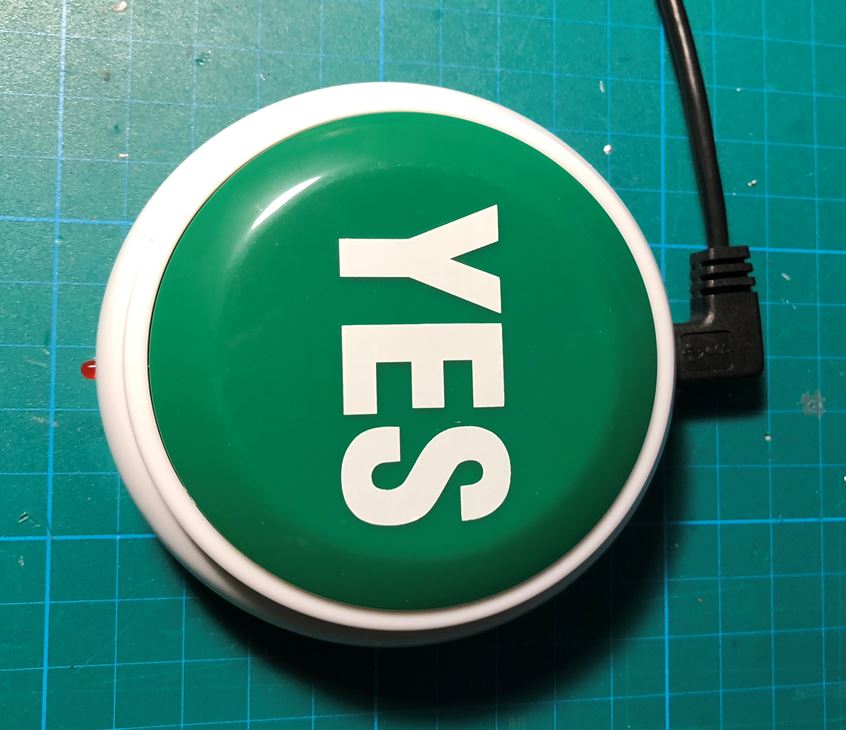
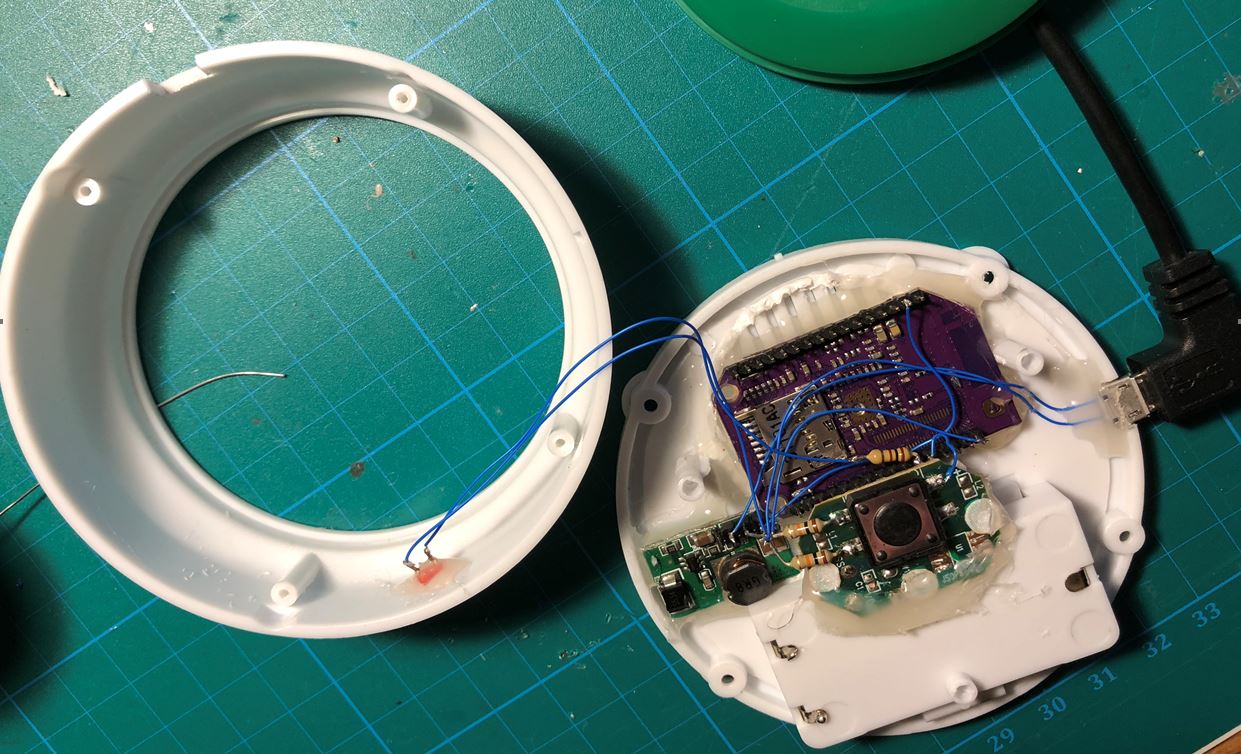
When I contracted my internet line with spanish ISP Pepephone they installed me a ZTE F680 router with embedded ONU/ONT. I didn’t wanted the router thing so I hacked it to achieve the ONU/ONT password and replaced with a classic ZTE F601.

Now I finally managed to get rid of the ZTE F601 by using a SFP with integrated ONU/ONT. The SFP I bought is DFP-34X-2C2 but DFP-34G-2C2 model should work as well.

 DFP-34G-2C2 SFP ONU ONT

DFP-34G-2C2 SFP ONU/ONT

This is an ARM v7 (ZX279125) running at 600Mhz and nearly 1200 bogomips, 32Mb integrated RAM and 16Mb of external (SPI?) flash (source) running linux ZTE flavour 2.6.32 in a SFP form factor. PDF

To be able to configure it there has to be some link in the optical connection, otherwise the SFP interface in your switch/router might not linkup and the SFP internal IP might not be reachable.

The default connection info is as follows:

  • IP: 192.168.1.1
  • VLAN: 1
  • URL: http://192.168.1.1
  • User: admin
  • Pass: admin

In its web page you can configure PON settings and even routing mode. By default, there is no WAN connection (this means there’s no routing mode, only bridge with all vlans through the SFP interface port). You can make the SFP a router to route you house/office traffic by making a WAN connection but I prefer to keep it as bridge.

Once in the web configuration page we can configure LOID, SN and their passwords as per our ISP requirements:

DFP-34G-2C2 LOID web onu ont

DFP-34G-2C2 LOID web

DFP-34G-2C2 SN web

DFP-34G-2C2 SN web

There is also telnet access with the following credentials:

  • User: root
  • Pass: Pon521

Telnet access is for linux advanced users and is not recomended to tamper with.

I bougth mine here: https://es.aliexpress.com/item/4000296796422.html

I have this SFP directly plugged to my C2960G switch and my router is a Debian virtual machine inside a synology DS218+ NAS which receivec VLAN20 traffic from the ONU/ONT through the switch and then the VM routers the traffic to VLAN1.

Micro CRT with Arduino

Martes, Febrero 20th, 2018

This is a micro CRT from an old camcorder. I used an Arduino Nano to generate a video demo (cube rotation) to show that it still works.

There is also a POLOLU-2118 power supply and a lipo charger aswell as a lipo battery.

Just for the fun of viewving :)

IoT cheap WiFi Button w/ LED

Jueves, Enero 11th, 2018

This is a simple-one-afternoot project that I made to be able to open the office door.

Our office door is locked by a presence control (with fingerprint reader, keypad and NFC cards) which is connected to a cloud server and API service. So, to open the door with just a button I need two curl calls to the API service in that server (one for login and another for opening the door).

0_1514989447520_Boton1.JPG

I love using Omega2 over other projects because has 3 mainly things: has easy built-in wifi, is linux and is cheaper than other things like arduino. Also it’s footprint is quite small.

0_1514989849280_6668df6d-df7a-4acf-8f65-b14f67c8cfe2-image.png

For the button, I searched over some sites looking for a big button with small footprint but was a futile search. I ended for a chinese repurposed button. This one had a speaker and said ‘Yes’ when pushed’.

0_1514989558431_Boton2.JPG

I tore it down to fit inside the Omega2 main board, a small DC-DC step down 5v to 3.3v and a micro-usb connector for power. Also I put a small red led to show opening status. I reused the momentary switch soldering a pull-down resistors. Switch is on GPIO 17 and LED on GPIO 11.

Once everything is fit together comes time for a small code. I have 2 scripts. This one is a loop to read the gpio button:

#!/bin/sh

# Boton (Input)
fast-gpio set-input 17 > /dev/null 2>&1

# LED (Output)
fast-gpio set-output 11 > /dev/null 2>&1
fast-gpio set 11 0 > /dev/null 2>&1

# Bogus GPIO?
gpioctl dirout-low 16 > /dev/null 2>&1

while [ 1 ]; do

        # Get button status
        STATUS=`fast-gpio read 17|awk '{print $4}'`

        if [ $STATUS -eq 1 ]; then
                fast-gpio set 11 1  > /dev/null 2>&1
                # LED is light meanwhile the script 'open.sh' is being executed
                /root/open.sh
                fast-gpio set 11 0 > /dev/null 2>&1
        fi

        # Some sleep
        sleep 0.05
done

The other one has the 2 curl sentences:

#!/bin/sh
# Do login and save the cookie
curl -i -c cookie_door \
-H "Accept: application/json" \
-H "Content-Type:application/json" \
-X POST --data '{"name": "someUser","password": "somePassword","user_id": "700"}' \
"https://api.biostar2.com/v1/login" > /dev/null 2>&1

# Use the cookie to open the door (index 1)
curl -i -b cookie_door \
-H "Accept: application/json" \
-H "Content-Type:application/json" \
-X POST --data '{"door_id": "1"}' \
"https://api.biostar2.com/v1/doors/1/open" > /dev/null 2>&1

As a side comment about the ‘bogus GPIO’, I don’t get quite how works the GPIO in Omega2. Seems that GPIO 17 and 16 are somehow linked? I had to put 16 on dirout-low so 17 could work great.

Also I had to install GNU/sleep that accepts times <1s. This way doesn’t use too much CPU without having to sleep 1s that could cause missing push to the push button.

In the end the project is highly usable for almost everything as is a simple network enabled IoT button. Changing the ‘open.sh‘ script can make this project to use in a infinity uses.

Arduino Enigma Portable

Jueves, Enero 11th, 2018

I recently got an Arduino Enigma on Tinder (https://www.tindie.com/products/ArduinoEnigma/arduino-enigma-i-m3-m4-machine-simulator-w-case/) which is a Arduino Enigma Machine Simulator with touch display. Is pretty handsome with a wooden case and perfectly functioning simulator of the Enigmas 1, M3 and M4.

But to work, it needs external power supply. Either a USB-B cable or a 9v battery with a barrel plug. And I hate having external addons to make it work.

Arduino Enigma Machine with battery

Arduino Enigma Machine with battery

So I put inside the case a lipo battery, a lipo charger and a 5v stepup to power up everything.